Quick Reference Guide
ADD CONTROL
- Quick Reference Guide
- ADD CONTROL
Control columns revolutionize your dataset management by allowing you to seamlessly integrate forms, files, actions, and visualizations directly into your Mapline datasets.
With the ability to add forms, files, or even trigger actions like sending emails at the click of a button, you streamline your workflow and access vital information without leaving your current window. Say goodbye to toggling between tabs or windows to gather insights – control columns bring all your essential data together in one convenient location, enhancing efficiency and productivity.
Let’s explore the power of streamlined workflows and enhanced data accessibility–here’s how to get started adding control columns to your datasets.
CHOOSE CONTROL TYPE
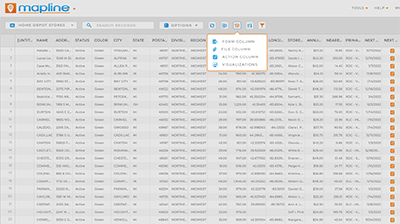
To add a control column to your dataset, simply click the CONTROL icon in the top menu bar, then choose from the provided options.
There are four types of control columns in Mapline, each offering unique customization for your workflows:
- Form Column: Create a new column that links to a Mapline form.
- File Column: Create a new column that links to a PDF file.
- Action Column: Create a new column that links to an action button.
- Visualizations: Create a new column that links to a chart or report.

To explore each type of control column, click the corresponding link. It’s time to get the most out of your Mapline datasets!


