Quick Reference Guide
ADD CONTROL: FORM COLUMN
- Quick Reference Guide
- ADD CONTROL
- FORM COLUMN
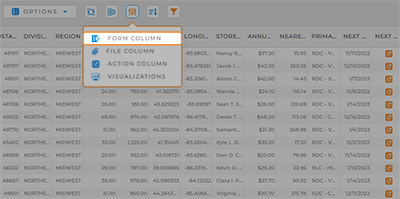
Automatically import new form responses and file attachments into your datasets with form columns!
Form columns empower you to seamlessly incorporate files and form submissions directly into your datasets. Once set up, these inputs become a dedicated column within the dataset.
This is a powerful way to effortlessly access form responses and attached files by simply clicking on the form icon. Let’s learn how to streamline your data management and enhance workflow efficiency. Check it out!
CHOOSE FORM TYPE
There are two types of form columns that you can add to your dataset, each with its own customizations that empower you to streamline data entry your way:
- Survey: Create a new form and collect the data you need in the moment
- Document: Upload a customizeable PDF and add data collection fields if desired
Once you’ve chosen they type of form column you need, click DONE.
CONFIGURE SURVEY
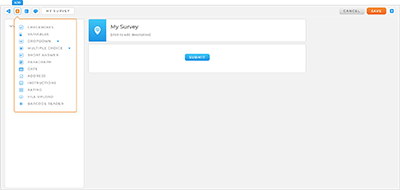
If you’re adding a survey column to your dataset, you’ll configure it here.
Just add questions and customize your settings the same way you would for any Mapline form, and you’re good to go!
This option empowers your team to facilitate accurate and efficient data entry throughtout your entire business. Isn’t that incredible?
CONFIGURE DOCUMENT
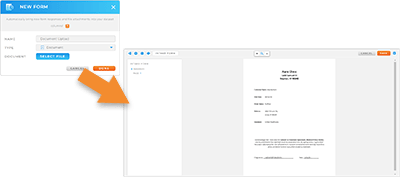
If you prefer to attach a PDF in your new control column, you’ll configure your document settings here.
First, name your document and click the blue SELECT button to select the PDF you’d like to attach. Once it’s finished uploading, click DONE.
ADD ITEMS
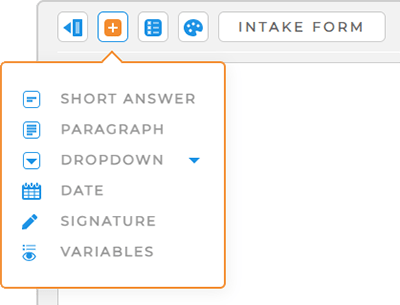
You can do more than just attach a static PDF here. Similar to adding new form questions, add any of the following items to your document to streamline data entry:
- Short answer: Users fill in their own custom answer with a short line of text
- Paragraph: Users fill in their own custom answer with multiple lines of text
- Dropdown: Users choose from options listed in a drop-down menu
- Date: Users fill out the relevant date
- Signature: Collect user’s signature
- Variables: Set default answers based on custom text, your existing datasets, URL variables, or the respondent’s profile info
OPTIONS
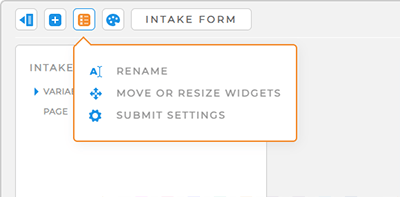
The options menu gives you the ability to customize your document’s functionality to meet your needs. Choose from the following:
- Rename: Change the name of your form
- Move or resize widgets: Rearrange or adjust the size of your form questions
- Submit settings: Configure your form submit settings
DOCUMENT STYLING
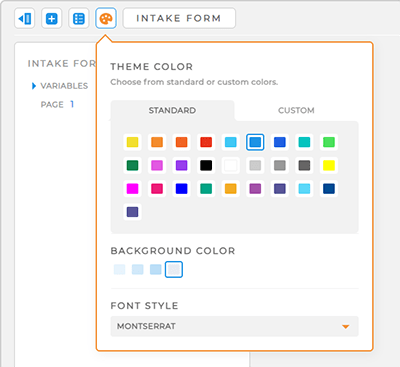
Finally, you have the option to style your form by adjusting the theme color, background color, and font.
To use custom theme colors, select the CUSTOM tab and use the color picker or paste a custom hex code.
This is the perfect way to keep your documents aligned with your branding, while streamlining data entry and improving efficiency.
